
Hi! I'm Héloïse and I feel it is relevant to mention that I am starting this blog in quarantine. As most of you probably are, I am bored out of my mind and in need of a project. I've already gone through my closet to repurpose some old clothes of mine, learned how to knit socks (finally), embroidered a couple of old projects... And now I officially need something new and time-consuming to do.
Two years ago, I decided I would make my very own Cinderella dress (from the live-action movie). I bought all the fabric and material I would need and got to work... and then got swamped by schoolwork and never looked at that project again. So imagine my delight when I found all of it the other day. I have to admit, it looked bad. I'm not saying I've become a professionnal seamstress since then, but I know a lot more than I did two years ago. The way I had gathered that fabric (a lot of pleats and messed up stitches) was awful. So I took out my trusty seam-ripper and proceeded to undo the whole skirt, in order to start from scratch.
This is what I bought two years ago and that I now have to work with:
- five meters of blue lining fabric (kinda see-through but a lot less expensive!)
- six meters of white/gold organza (that was expensive though)
- some blue tulle (I'm not sure how much)
- a very long invisible zipper
- a lot of plastic boning
- a big crinoline
- little butterflies (on which I had put silver and blue glitter on)
- one roll of this weird shiny blue fabric (found at the dollar store; I have no clue what it is)

So yeah. That's what my sixteen year old self thought I would need for this dress and that's what I'll attempt to use to make my new version of the live-action Cinderella dress.
For this first post, I am making the first layer of my skirt. I have three meters of blue lining fabric, which is not that much for a big skirt. So I decided I would try to maximize it. The idea was to make four triangular panels that I would all put together as a skirt. I measured my waist, added seam allowance and figured it wouldn't be too hard to calculate everything to know how wide my panels would be (even though I am terrible at math). My first draft looked like this:

Yes, I'm a very talented sketcher. But let's focus: as you can see, I didn't think my thing through and ended up with two half panels on each side.

I quickly realized that my very basic math skills weren't gonna cut it. So I called for reinforcements.

Yes, my dad and my step-mom figured it out for me. And I ended up with this:

I'm not sure if you can understand all of it, but if not, rest assured: I am convinced your math skills are better than mine. So I'll let you understand what you can of it. But basically, I'm cutting my fabric in trapeze shapes and assembling them to make the biggest skirt possible with what I have. And look! I even managed to use those two sad halves on either side! So with my little drawing by my side, I started drawing lines with some fabric chalk I found in our old sewing box.
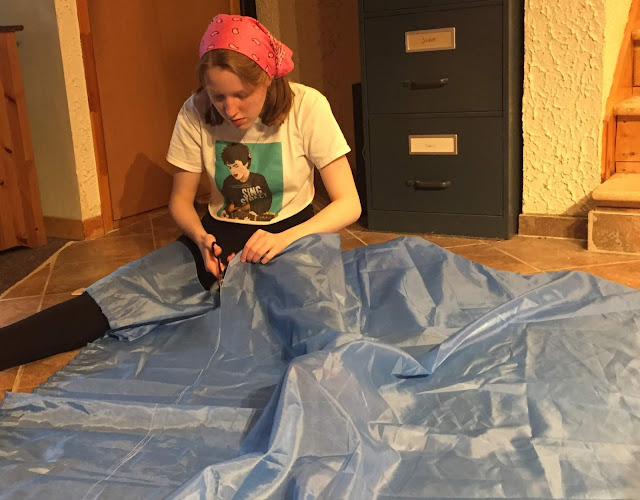
I then cut my panels and ironed everything (because look how wrinkly this thing was!). I don't really iron my clothes in everyday life (I'm usually satisfied with one last spin in the drying machine), so when I took up sewing, it took me a little while to get the hang of it. I somehow would always create more pleats and wrinkles... Turns out the trick was just to take your time.
I pinned and sewed everything together, and ended up with my first layer.

I don't know what I was thinking when I bought this fabric, it is way too see-through. I think I'm going to have to add another layer underneath with fabric I find around my house... But for now it looks like this!
So this is it for part one! I'll work on the organza layer in part two.

I then cut my panels and ironed everything (because look how wrinkly this thing was!). I don't really iron my clothes in everyday life (I'm usually satisfied with one last spin in the drying machine), so when I took up sewing, it took me a little while to get the hang of it. I somehow would always create more pleats and wrinkles... Turns out the trick was just to take your time.
I pinned and sewed everything together, and ended up with my first layer.

So this is it for part one! I'll work on the organza layer in part two.
-Héloïse
Comments